Drilling glass can seem daunting, but with the right tools and techniques, it’s safe and simple.
Drilling a hole in a glass bottle requires precision and the proper equipment to ensure a clean and safe result.
Don’t worry if you’ve never drilled glass before. Keep reading to discover an easy, step-by-step guide that will help you achieve professional results.
How to Make a Hole in a Glass Bottle: A Simple & Safe Guide?
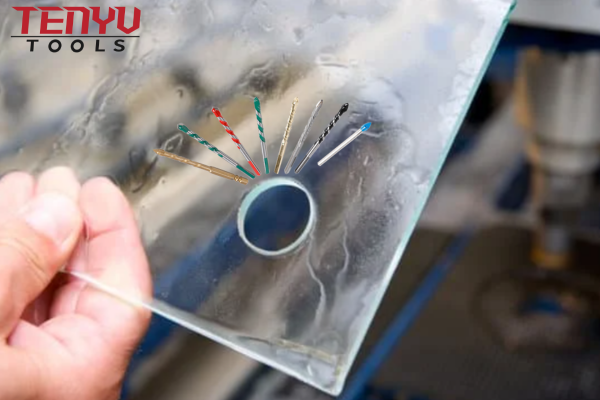
Struggling to create a perfect hole in your glass bottle? You’re not alone.
To safely make a hole in a glass bottle, use a carbide tip drill bit with a slow speed and steady pressure.
Stay with me as I walk you through the essential steps to achieve a flawless hole without breaking your bottle.
Choosing the Right Tools
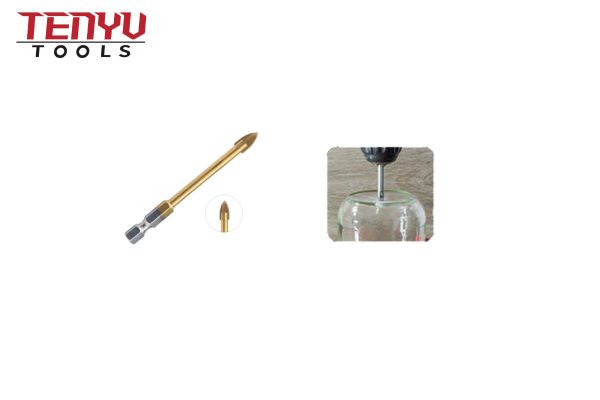
Selecting the appropriate tools is crucial for successfully drilling glass. The most important tool is the drill bit. Carbide tip drill bits1 are highly recommended due to their durability and precision. These bits are designed to handle the hardness of glass, reducing the risk of cracking.
Other essential tools include:
- Drill press or hand drill: A drill press offers more control and stability, which is beneficial when drilling glass.
- Safety gear: Always wear safety glasses and gloves to protect yourself from glass shards.
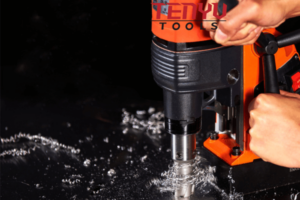
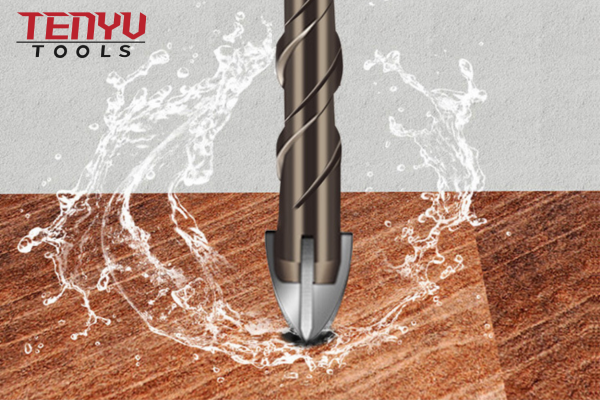
- Water source: Keeping the drilling area cool with water minimizes heat build-up, preventing cracks.
Preparing the Glass Bottle
Proper preparation ensures a smooth drilling process. Start by cleaning the glass bottle thoroughly. Any dirt or residue can interfere with the drilling process and cause imperfections.
Next, mark the spot where you want to drill the hole. Use a marker or masking tape to indicate the exact location. Applying tape also helps prevent the drill bit from slipping.
Drilling the Hole
Begin drilling at a low speed to avoid overheating the glass. Apply gentle, steady pressure to guide the carbide tip drill bit through the glass. It’s essential to keep the drill bit perpendicular to the surface to ensure a clean hole.
Regularly cool the drilling area with water. This prevents the glass from cracking due to excessive heat. Patience is key; rushing the process can lead to mistakes and potential breakage.
Finishing Touches
Once the hole is drilled, smooth the edges with fine-grit sandpaper to eliminate any sharp edges. This step ensures the hole is safe for handling and use in your projects.
How to Drill a Hole in a Glass Jar?
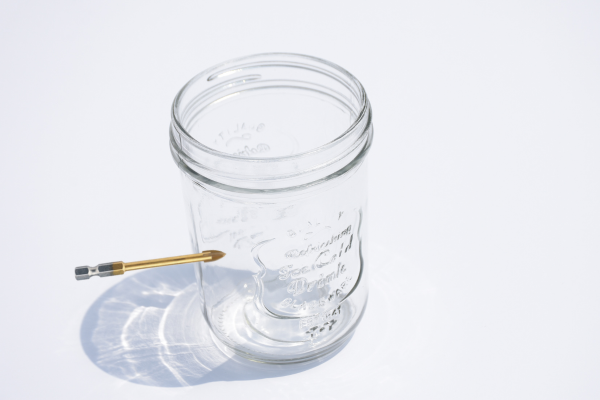
Ever tried drilling a hole in a glass jar and ended up frustrated? You’re not the only one.
Using a carbide tip drill bit and proper technique makes drilling a hole in a glass jar straightforward and safe.
Let me guide you through the process to achieve a perfect hole without damaging your jar.
Selecting the Right Drill Bit
For glass jars, carbide tip drill bits are ideal. Their hardness ensures they can penetrate the glass smoothly. Ensure the bit size matches the hole you intend to create.
Securing the Jar
Stability is vital when drilling. Secure the jar on a stable surface using clamps or a vice. This prevents movement, allowing for precise drilling2.
Marking and Drilling
Mark the drilling spot clearly. Start drilling at a low speed, applying gentle pressure. Keep the drill bit perpendicular to the jar to maintain a straight hole.
Cooling and Finishing
Keep the drill bit cool with a steady stream of water. After drilling, smooth the edges with sandpaper for a safe finish.
Making Holes in Small Bits of Glass?
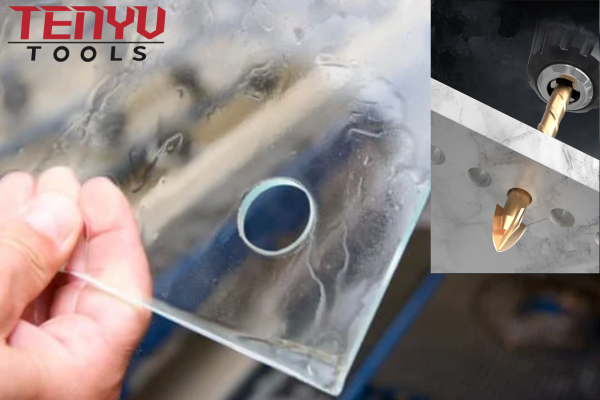
Need to make holes in small glass pieces but worried about breakage? It’s easier than you think.
With the right tools and steady hands, making holes in small bits of glass can be done efficiently and safely.
Continue reading to learn the best practices for handling and drilling small glass pieces.
Choosing Precision Tools
For small glass pieces, precision is essential. Carbide tip drill bits are perfect for their accuracy and strength. They help create clean holes without damaging the glass.
Setting Up Your Workspace
A well-organized workspace minimizes mistakes. Use a stable surface and secure the small glass pieces with clamps3 or a jig. This setup provides the necessary stability during drilling.
Drilling Technique
Start drilling at a slow speed to control the bit and prevent slipping. Apply minimal pressure to avoid cracking. Keep the drill bit steady and maintain a consistent angle.
Cooling and Safety
Continuous cooling is crucial, especially with small glass pieces. Use water or a cooling lubricant to keep the glass from overheating. Always wear safety gear to protect against tiny glass shards.
Inspecting the Hole
After drilling, inspect the hole for smoothness. Use fine-grit sandpaper to remove any rough edges, ensuring the hole is safe for use in your projects.
How to Drill Your Glass?
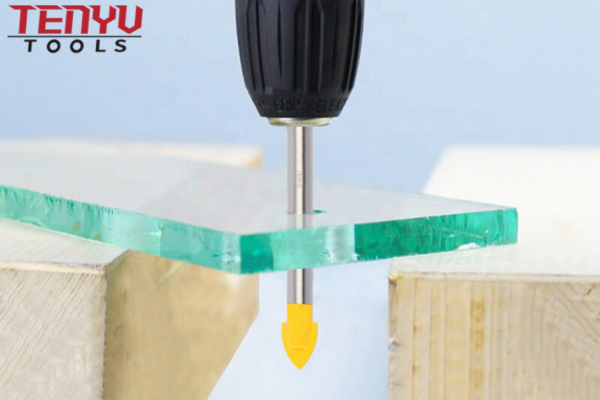
Drilling glass might seem tricky, but with the right approach, it’s entirely manageable.
Employing a carbide tip drill bit and following safety steps ensures successful glass drilling every time.
Let me share my tried-and-true methods for drilling glass effectively.
Essential Equipment
To drill glass, you need specific tools:
- Carbide tip drill bit: Essential for cutting through glass without causing cracks.
- Drill press or hand drill4: Provides the necessary control and stability.
- Safety gear: Protect your eyes and hands from glass particles.
- Water source: Keeps the drilling area cool, preventing heat-related cracks.
Preparing the Glass
Clean the glass thoroughly to remove any debris. Mark the drilling spot accurately. Applying masking tape over the spot can help keep the drill bit from slipping.
Drilling Process
Begin drilling at a low speed. Apply gentle, consistent pressure to guide the bit through the glass. Maintain a perpendicular angle to ensure a clean hole.
Regularly cool the drilling area with water. This step is vital to prevent overheating and cracking.
Post-Drilling Care
Once the hole is drilled, carefully remove any sharp edges using sandpaper. This ensures the glass is safe for handling and further use.
Safety Tips for Drilling Glass
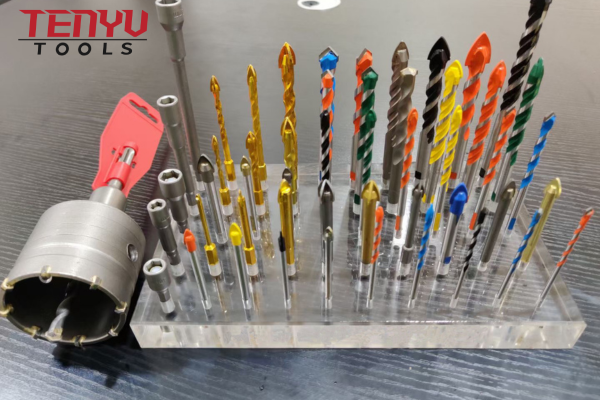
Safety should always be your top priority when drilling glass. Following these safety tips ensures a protected and accident-free drilling experience.
Wearing Proper Safety Gear
Always wear the right safety equipment to protect yourself from potential hazards.
- Essential Gear:
- Safety glasses: Protect your eyes from glass shards and debris.
- Gloves: Shield your hands from sharp edges and hot surfaces.
- Long sleeves and pants: Prevent glass particles from coming into contact with your skin.
- Closed-toe shoes: Protect your feet from dropped tools or glass pieces.
Working in a Well-Ventilated Area
Drilling glass can create fine dust and debris. Working in a well-ventilated area helps keep the air clean and reduces inhalation risks.
- Ventilation Tips:
- Use a workshop with good airflow or open windows to increase ventilation.
- Consider using an exhaust fan5 to remove dust from the drilling area.
- Wear a dust mask if ventilation is insufficient.
Securing the Glass Properly
Preventing the glass from moving during drilling reduces the risk of accidents and ensures accurate holes.
- Securing Methods:
- Use clamps or a vise to hold the glass steady.
- Place a rubber mat or padding under the glass to absorb vibrations.
- Double-check the stability before starting to drill.
Handling Glass Carefully
Glass can be fragile and sharp. Handle it with care to prevent cuts and breakage.
- Handling Tips:
- Hold glass pieces by their base rather than edges to avoid applying stress.
- Transport glass carefully, using protective padding to prevent impacts.
- Clean up any broken glass immediately to avoid injuries.
Using the Right Drilling Technique
Proper drilling technique minimizes the risk of accidents and ensures a clean hole.
- Technique Tips:
- Start drilling at a low speed and gradually increase as needed.
- Apply even, gentle pressure to avoid sudden movements.
- Keep the drill bit perpendicular to the glass surface.
Keeping a Clean Workspace
A cluttered workspace increases the risk of accidents. Keeping it clean ensures a safer drilling environment.
- Cleaning Tips:
- Remove any unnecessary tools or materials from the drilling area.
- Clean up glass dust and debris regularly to maintain visibility.
- Organize tools and equipment for easy access and reduced clutter.
Being Prepared for Emergencies
Accidents can happen despite precautions. Being prepared ensures you can respond effectively.
- Emergency Preparedness:
- Keep a first aid kit nearby in case of cuts or injuries.
- Know the location of emergency exits and procedures.
- Have a phone or communication device accessible for emergencies.
Avoiding Distractions
Staying focused while drilling reduces the risk of mistakes and accidents.
- Focus Tips:
- Eliminate unnecessary distractions from your workspace.
- Take regular breaks to maintain concentration.
- Stay alert and aware of your surroundings while drilling.
Regular Safety Audits
Conducting regular safety checks helps identify and mitigate potential hazards.
- Audit Steps:
- Inspect your tools and equipment for any signs of wear or damage.
- Review your safety gear to ensure it is in good condition.
- Assess your workspace for any new hazards or changes.
Setting Up Your Drilling Station
A well-organized drilling station enhances efficiency and safety. Setting up your workspace properly ensures smooth and effective drilling sessions.
Choosing the Right Location
Select a location that is spacious, well-lit, and ventilated.
- Space Requirements: Ensure enough room for your tools and projects.
- Lighting6: Good lighting helps you see details clearly and reduces eye strain.
- Ventilation: Proper airflow prevents dust buildup and keeps the area comfortable.
Organizing Your Tools and Equipment
Keep your tools and equipment organized for easy access and efficient workflow.
- Storage Solutions:
- Tool Racks: Keep drill bits and other tools within reach.
- Shelving Units: Store larger equipment like drill presses neatly.
- Drawers and Cabinets: Organize smaller tools and accessories.
Setting Up Your Drill Press
If using a drill press, proper setup is crucial for accurate drilling.
- Assembly: Follow the manufacturer’s instructions for assembling the drill press.
- Alignment: Ensure the drill bit is perfectly aligned with the work surface.
- Stability: Secure the drill press to prevent movement during drilling.
Creating a Safe Workspace
Safety is paramount in your drilling station setup.
- Clear Work Area: Keep the workspace free of clutter and unnecessary items.
- Safety Equipment: Have safety gear easily accessible.
- Emergency Supplies: Keep a first aid kit and fire extinguisher nearby.
Implementing a Workflow
Establish a consistent workflow to streamline your drilling process.
- Step-by-Step Process:
- Prepare your glass piece by cleaning and marking the drilling spot.
- Secure the glass in place to prevent movement.
- Set up your drill with the appropriate carbide tip bit.
- Begin drilling at a low speed, applying steady pressure.
- Cool the drilling area regularly to prevent overheating.
- Finish by smoothing the hole edges with sandpaper.
Managing Drilled Glass Pieces
Properly handling and storing drilled glass pieces maintains their quality and safety.
- Handling Tips:
- Use protective gloves to avoid cuts.
- Place drilled pieces on a padded surface to prevent chipping.
- Label and organize pieces for easy identification.
Maintaining Cleanliness
Keeping your workspace clean promotes safety and efficiency.
- Cleaning Practices:
- Wipe down surfaces regularly to remove dust and debris.
- Dispose of glass scraps safely in designated containers.
- Clean tools and equipment after each use.
Enhancing Efficiency
Optimize your drilling station for maximum productivity.
- Efficiency Tips:
- Arrange tools and materials within arm’s reach.
- Use storage solutions that categorize tools by type and use.
- Implement labeling systems for easy tool identification.
Personalizing Your Workspace
A personalized workspace can make drilling more enjoyable and inspiring.
- Personalization Ideas:
- Decorate with artwork or inspiring quotes.
- Use color-coded storage for a visually appealing setup.
- Add comfortable seating if you spend long hours at your station.
Troubleshooting Common Setup Issues
Address common setup problems to maintain an effective drilling station.
- Issues and Solutions:
- Insufficient Lighting: Add additional lamps or upgrade to brighter bulbs.
- Unstable Drill Press: Ensure the drill press is securely anchored and level.
- Cluttered Workspace: Implement better storage solutions and declutter regularly.
Frequently Asked Questions (FAQ)

What is the best drill bit for glass?
The best drill bit for glass is a carbide tip drill bit. These bits are specifically designed to handle the hardness of glass, providing precision and reducing the risk of cracking or chipping.
How can I prevent glass from cracking while drilling?
To prevent glass from cracking while drilling7:
- Use a carbide tip drill bit.
- Drill at a low speed.
- Apply steady, gentle pressure.
- Keep the drilling area cool with water.
- Secure the glass firmly to prevent movement.
Do I need a special drill for drilling glass?
While you can use a standard hand drill, a drill press is recommended for better control and stability, which are crucial for precise and safe drilling in glass.
How do I mark the drilling spot on glass?
You can mark the drilling spot on glass using a permanent marker or masking tape. Applying masking tape not only marks the spot but also helps prevent the drill bit from slipping.
Is it necessary to use water while drilling glass?
Yes, using water while drilling glass is essential. It keeps the drilling area cool, reduces heat build-up, and minimizes the risk of cracking. Continuous cooling also extends the life of your drill bit.
Can I drill glass without a carbide tip drill bit?
While it’s possible to drill glass with other types of bits, carbide tip drill bits are highly recommended for their durability and precision. Using the wrong bit increases the risk of cracking and poor-quality holes.
How do I smooth the edges after drilling?
After drilling, smooth the edges with fine-grit sandpaper or a glass file. This removes any sharp or rough edges, ensuring the hole is safe to handle and use in your projects.
What safety gear should I wear when drilling glass?
When drilling glass, always wear:
- Safety glasses to protect your eyes from shards.
- Gloves to protect your hands from sharp edges.
- Long sleeves and pants to prevent glass particles from contacting your skin.
- Closed-toe shoes to protect your feet from dropped tools or glass pieces.
How long does it take to drill a hole in glass?
The time it takes to drill a hole in glass depends on several factors, including the size of the hole, the type of glass, and the drill bit used. Generally, it can take anywhere from a few minutes to half an hour for larger or more intricate holes.
Can I reuse drill bits after drilling glass?
Yes, you can reuse carbide tip drill bits after drilling glass. Proper maintenance, such as cleaning and sharpening, ensures they remain effective for multiple projects.
Conclusion
Drilling glass is achievable with the right tools and techniques. Carbide tip drill bits are your best choice for precision and durability.
-
"precise drilling" is a key concept in the process of achieving high-quality, accurate results when drilling.
-
Clamps are essential tools for securing materials in place, especially small, delicate objects like glass.
-
A drill press provides better control and precision compared to a hand drill, making it safer and more effective for drilling glass.
-
This link is added to provide more information about exhaust fans specifically designed for removing dust in a workshop.
-
"lighting" relates directly to how proper lighting can enhance visibility and reduce eye strain in a workspace.


