Making a hole in metal without a drill is achievable using simple hand tools and techniques like a center punch, hammer, and hand drill or rotary tool.
Have you ever needed to make a hole in metal but didn’t have a drill handy?
Making a hole in metal without a drill is entirely possible using simple tools and techniques. Whether you’re in a pinch or working on a DIY project, these methods can help you achieve the desired result without power tools.
Don’t worry if you don’t have a drill. There are several effective alternatives you can use to make precise holes in metal.
How Can Old Drilling Bits be Repurposed or Used?
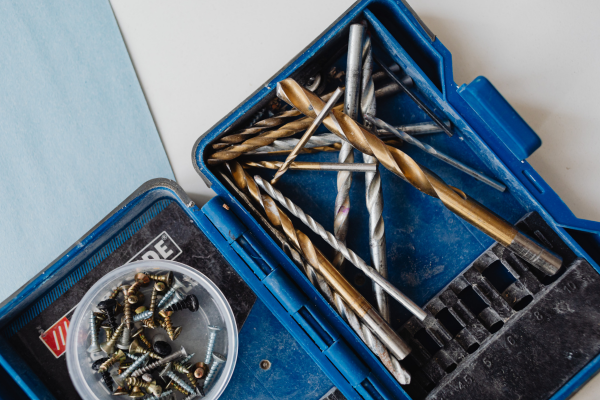
Using old drill bits creatively can save you time and money.
Old drill bits can be repurposed for various tasks around the workshop. Instead of discarding them, you can sharpen or modify them to suit different drilling needs. For instance, you can grind the tips to create different hole sizes or shapes. Additionally, old bits can be used for manual drilling, where precision is key.
Extending the Life of Your Drill Bits
Repurposing old drill bits involves several steps:
- Sharpening: Use a bench grinder1 to restore the sharpness of dull bits. This ensures they can cut through metal effectively.
- Modifying Shapes: By grinding the tips, you can create different angles and shapes suitable for specific tasks.
- Creating Hand Drills: Attach old bits to a wooden handle to create a makeshift hand drill for manual drilling.
Benefits of Repurposing
- Cost-Effective: Saves money by extending the life of existing tools.
- Customization: Allows you to tailor drill bits to specific project needs.
- Sustainability: Reduces waste by giving old tools a new purpose.
Table: Common Repurposed Drill Bits and Their Uses
| Drill Bit Type | Repurposed Use |
|---|---|
| Twist Drill Bits | Manual drilling with hand drill |
| Step Drill Bits | Creating multiple hole sizes |
| Masonry Bits | Starting holes in concrete |
Repurposing old drill bits not only maximizes their utility but also enhances your DIY projects by providing versatile tools tailored to your specific needs.
How to Drill Holes in Metal by Hand Without Power Tools?
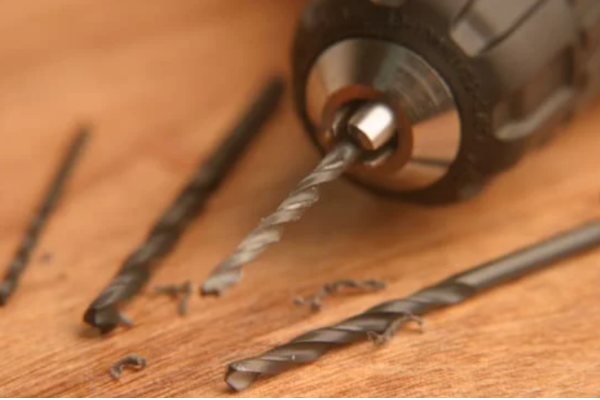
Drilling by hand is a skill that anyone can learn with the right tools and techniques.
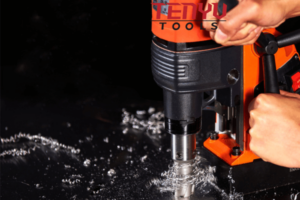
To drill holes in metal without power tools, you can use a hand drill or a manual drill press. Start by marking the spot where you want the hole. Use a center punch to create a small indentation to guide the drill bit. Apply steady pressure and use a lubricant like cutting oil to reduce friction and heat. Turn the drill handle consistently to maintain control and prevent the bit from slipping.
Tools You Will Need
- Hand Drill: A sturdy manual drill with a comfortable grip.
- Center Punch2: For marking the drilling spot accurately.
- Cutting Oil: To lubricate the drill bit and metal.
- File or Sandpaper: To smooth out any rough edges after drilling.
Step-by-Step Guide
- Mark the Spot: Use a marker to indicate where you want the hole.
- Create an Indentation: Use a center punch and hammer to make a small dent at the mark.
- Apply Lubricant: Drip some cutting oil onto the drilling spot.
- Start Drilling: Place the drill bit into the indentation and begin turning the handle slowly.
- Maintain Pressure: Keep steady pressure and ensure the drill bit remains perpendicular to the metal surface.
- Clear Debris: Periodically remove the drill bit to clear metal shavings and reapply lubricant as needed.
- Finish the Hole: Continue until the drill bit passes through the metal. Use a file to smooth the edges.
Tips for Successful Manual Drilling
- Use the Right Drill Bit: Ensure the drill bit is suitable for metal and sharp.
- Maintain Consistent Speed: Avoid rushing to prevent overheating and bit damage.
- Secure the Metal: Clamp the metal piece firmly to prevent movement during drilling.
By following these steps, you can effectively drill holes in metal without the need for power tools, achieving precise and clean results.
How to Keep My Drill Bits From Becoming Dull So Quickly?
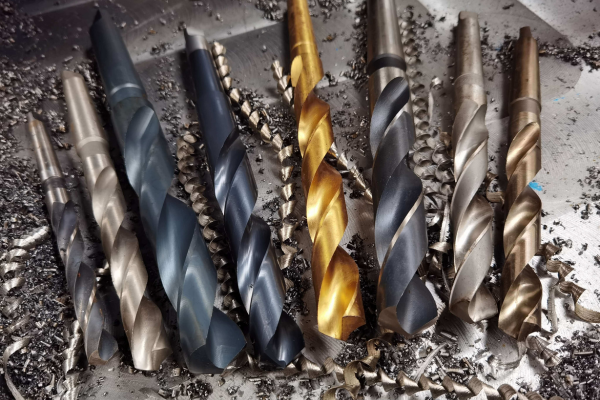
Keeping your drill bits sharp ensures efficiency and longevity.
To prevent drill bits from becoming dull quickly, proper maintenance is essential. Always use the correct speed and pressure when drilling. Applying cutting oil reduces friction and heat, which can wear down the bit. After each use, clean the bits thoroughly to remove metal shavings and debris. Storing them in a dry place prevents rust, which can also dull the edges.
Maintenance Practices
- Use Cutting Oil3: Apply oil before and during drilling to keep the bit cool.
- Proper Speed: Use appropriate drilling speeds for different metals to avoid overheating.
- Regular Cleaning: Remove debris after each use with a wire brush or compressed air.
- Storage: Keep drill bits in a dry, organized place to prevent rust and damage.
Sharpening Your Drill Bits
When drill bits start to dull, you can sharpen them using a bench grinder:
- Safety First: Wear protective gloves and eyewear.
- Angle Grinding: Maintain the original angle of the drill bit when sharpening.
- Uniform Grinding: Ensure both sides are evenly sharpened to maintain balance.
Signs Your Drill Bits Are Dulling
- Increased Drilling Time: Takes longer to make holes.
- Burn Marks: Excessive heat causing discoloration on metal.
- Inconsistent Holes: Holes are not straight or clean.
By implementing these maintenance practices, you can extend the life of your drill bits and ensure they perform effectively for many projects.
How to Take Drill Bits Out of a Package?
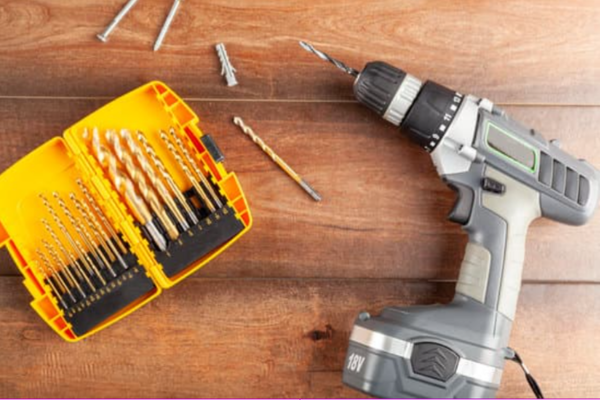
Properly handling drill bits from the package ensures their longevity and performance.
When removing drill bits from a package, handle them with care to prevent damage. Start by gently opening the packaging to avoid bending the bits. Use a soft cloth or a dedicated tool to hold the bit securely without applying excessive pressure. Inspect each bit for any signs of damage before use. Organizing them in a holder or case can prevent loss and maintain their sharpness.
Steps to Safely Unpack Drill Bits
- Prepare Your Workspace4: Ensure you have a clean, flat surface to work on.
- Open Packaging Carefully: Use scissors or a box cutter to open packages without applying force to the bits.
- Handle with Clean Hands: Oils and dirt from your hands can affect the bit’s performance.
- Inspect Each Bit: Look for bends, chips, or rust before use.
- Organize: Store bits in a labeled holder or container to keep them organized and easily accessible.
Common Mistakes to Avoid
- Forcing the Package Open: Can bend or damage the bits.
- Using Dirty Hands: Dirt and oils can degrade the metal over time.
- Improper Storage: Leaving bits loose can lead to loss or damage.
Best Practices for Storage
- Use a Bit Holder: Keeps bits organized and protected.
- Label Sizes: Makes it easier to find the right bit quickly.
- Store in a Dry Place: Prevents rust and corrosion.
By following these steps, you can ensure your drill bits remain in excellent condition from the moment you take them out of the package until their final use.
How to Make a Twist Drill Bit Cut Faster?
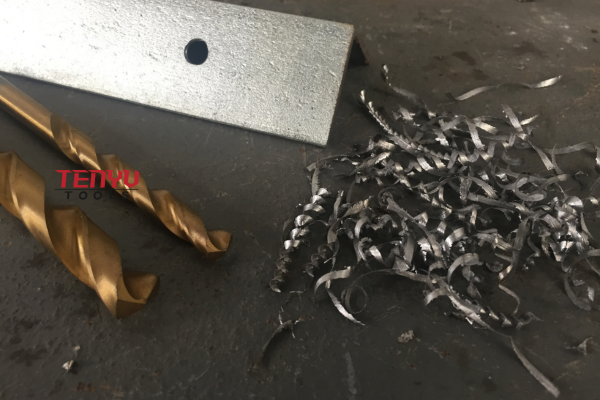
Improving the cutting speed of your twist drill bits can make your projects more efficient.
To make a twist drill bit cut faster, ensure it is sharp and properly lubricated. Use high-speed steel (HSS) bits for better performance on metal. Applying cutting oil reduces friction and heat, allowing the bit to penetrate the metal more easily. Maintaining the correct drilling angle and consistent pressure also enhances cutting speed. Additionally, using a drill press can provide better control and stability, leading to faster and cleaner cuts.
Enhancing Drill Bit Efficiency
- Sharpen Regularly5: A sharp bit cuts through metal more easily.
- Use Lubrication: Cutting oil minimizes friction and cools the bit.
- Select the Right Bit: HSS bits are ideal for metal due to their durability.
- Maintain Proper Angle: Keep the bit perpendicular to the metal surface for optimal cutting.
- Apply Consistent Pressure: Avoid applying too much or too little force.
Techniques for Faster Cutting
- Pre-Drill Holes: Use a center punch to create a guide for the bit.
- Use Step Drills: These can create multiple hole sizes quickly.
- Pace Your Drilling: Let the bit work at its own speed without forcing it.
Table: Comparison of Drill Bit Types for Speed
| Drill Bit Type | Material | Cutting Speed | Best For |
|---|---|---|---|
| HSS | Steel | High | General metal work |
| Cobalt | Steel | Very High | Hard metals |
| Carbide | Composite | Extremely High | Industrial applications |
By implementing these strategies, you can significantly increase the cutting speed of your twist drill bits, making your metalworking tasks quicker and more efficient.
How to Tell If a Drill Bit Is Worn Out? How Can You Fix a Drill Bit?
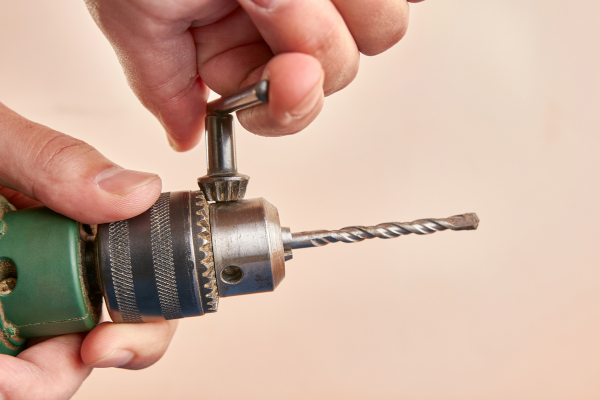
Recognizing when a drill bit is worn out can save you from poor results and potential damage.
A worn-out drill bit often shows signs like reduced cutting efficiency, increased drilling time, and visible wear or deformation on the edges. If you notice that your drill bit is producing rough holes or requires more force than usual, it might be time to inspect it. To fix a worn drill bit, you can sharpen it using a bench grinder, ensuring the cutting edges are restored to their original angles. In some cases, replacing the bit is more practical, especially if the wear is severe.
Signs of a Worn Drill Bit
- Dull Cutting Edges6: Difficulty in making clean cuts.
- Overheating: Excessive heat during drilling indicates friction.
- Chipped or Bent Tips: Visible damage that affects performance.
- Inconsistent Hole Quality: Holes are rough or uneven.
Fixing a Worn Drill Bit
- Sharpening: Use a bench grinder to carefully restore the cutting edges.
- Realigning: If the bit is bent, gently straighten it using pliers.
- Balancing: Ensure the bit is balanced to prevent wobbling during drilling.
- Replacement: If the bit is too damaged, replace it with a new one.
Preventing Drill Bit Wear
- Use Proper Lubrication: Reduces friction and extends the bit’s life.
- Avoid Excessive Pressure: Let the bit do the work to prevent overheating.
- Select the Right Bit: Use bits suitable for the metal type you’re working with.
Table: Maintenance Checklist for Drill Bits
| Maintenance Task | Frequency | Purpose |
|---|---|---|
| Inspect Before Use | Every use | Identify early wear or damage |
| Clean After Use | Every use | Remove debris and prevent rust |
| Sharpen Regularly | As needed | Maintain cutting efficiency |
| Store Properly | Always | Prevent damage and loss |
By regularly inspecting and maintaining your drill bits, you can ensure they remain effective and extend their useful life, saving you time and resources in the long run.
How to Use and Maintain the Drill Bit Properly?
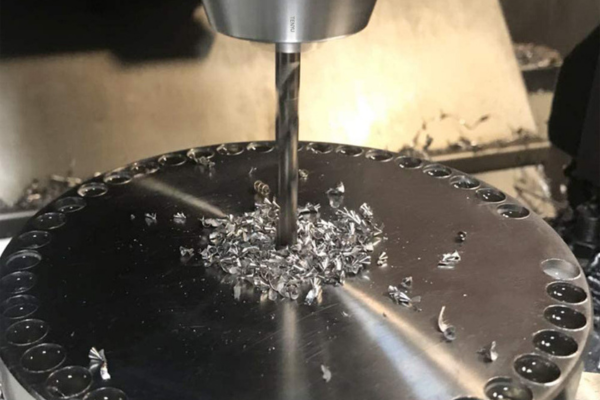
Proper usage and maintenance of drill bits are crucial for achieving the best results and prolonging their lifespan.
To use a drill bit correctly, select the appropriate bit for your material and ensure it is securely fastened in the drill. Apply steady, even pressure while drilling and use lubrication to reduce heat and friction. After each use, clean the bit to remove any debris or metal shavings. Regularly inspect the bit for signs of wear and sharpen it as needed. Store your drill bits in a dry, organized place to prevent rust and damage.
Best Practices for Using Drill Bits
- Choose the Right Bit: Match the bit type to the material you’re drilling.
- Secure the Bit: Ensure the bit is tightly fastened to prevent slipping.
- Use Lubrication: Apply cutting oil7 to ease drilling and keep the bit cool.
- Maintain Speed: Use appropriate drilling speeds for different materials.
- Control Pressure: Apply consistent pressure without forcing the bit.
Maintenance Tips
- Regular Cleaning: Remove debris after each drilling session.
- Sharpening: Keep bits sharp for efficient cutting.
- Inspection: Check for chips, bends, or other damage before use.
- Proper Storage: Use holders or cases to keep bits organized and protected.
Common Mistakes to Avoid
- Overheating the Bit: Can cause loss of hardness and dullness.
- Using the Wrong Bit: Leads to poor drilling performance and potential bit damage.
- Improper Storage: Causes rust and corrosion, reducing bit lifespan.
Table: Drill Bit Maintenance Schedule
| Task | Frequency | Action Required |
|---|---|---|
| Cleaning | After every use | Remove debris with a brush or cloth |
| Inspection | Before each use | Check for damage or wear |
| Sharpening | When dull | Use a bench grinder to sharpen |
| Storage | Always | Keep in a dry, organized holder |
By adhering to these usage and maintenance guidelines, you can ensure your drill bits perform optimally and last longer, making your drilling tasks more efficient and effective.
Conclusion
Mastering these techniques ensures efficient metal drilling without a drill.
-
A bench grinder is a common tool used for sharpening drill bits. ↩
-
The center punch is essential for precise marking before drilling. ↩
-
Cutting oil is essential for cooling the drill bit and reducing wear during drilling. ↩
-
Proper workspace preparation is essential for safe and efficient use of tools. ↩
-
"Sharpen Regularly" refers to the importance of keeping a drill bit sharp to improve cutting efficiency. ↩
-
"Dull Cutting Edges" helps the user learn about why cutting edges lose their sharpness and how it impacts drilling performance. ↩
-
This keyword is linked to the "Use Lubrication" section, where applying cutting oil is suggested for easier drilling and to keep the bit cool. ↩

